
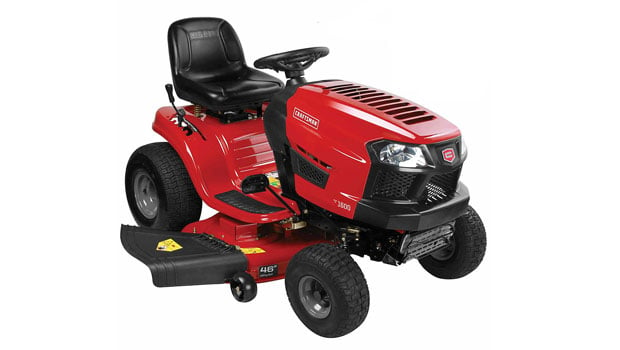
How to Remove the Cutting Deck From Your Craftsman 46” Automatic Transmission Riding Mower
To service your mower and cutting deck, removal of the cutting deck is often required. Learn how to safely perform this necessary procedure to prevent injury and damage to your mower.
When servicing your tractor, park on a level surface and disengage the mower blades. Lower the attachments all the way down, set the parking brake, and stop the engine. Take out the key and wait for the engine and attachments to completely stop moving before leaving the seat. Remove the spark plug or disconnect the negative battery cable before working on your tractor.
- Step 1: Disengage the PTO by setting it to the OFF position.
- Step 2: Set the parking brake.
- Step 3: Set the lift lever into the bottom notch on the right fender.
- Step 4: Remove the belt keeper rod from around the engine pulley by removing the self-tapping screw that is securing it.
- Step 5: Remove the belt from the engine pulley and idler pulleys.
- Step 6: Find the bow-tie pin that secures the deck support rod that’s on the rear left side of the deck. Remove the pin and remove the deck support from the deck lift arm.
- Step 7: Repeat step 6 on the right side of the tractor.
- Step 8: Move the deck lift lever to the top notch on the right fender to move the deck lift arms up and out of the way.
- Step 9: Remove the bow-tie pin that secures the deck stabilizer rod to the deck. Slide the deck lift rod from the mounting weldment on the deck.
- Step 10: Remove the PTO cable from the cutting deck by removing the bow-tie clip that secures it.
- Step 11: Remove the spring from the deck idler bracket.
- Step 12: Slide the cutting deck out of the left side of the tractor.
For information about safety, warranty, and your specific model, read and be familiar with your owner’s manual.
Related Products and Links
Related Posts

How to Remove the Cutting Deck from Your Troy-Bilt Pony Riding Lawn Tractor →
How to Level the Deck on Your Troy-Bilt Pony Riding Lawn Tractor →
How to Inspect and Replace the Blades on Your Troy-Bilt Pony Riding Lawn Tractor →
How to Change the Deck Belt on Your Troy-Bilt Pony Riding Lawn Tractor →
