
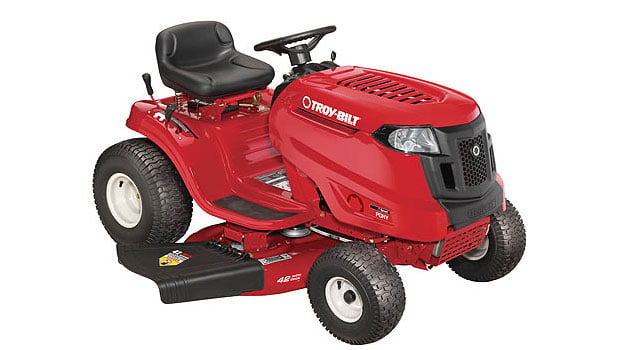
How to Change the Deck Belt on Your Troy-Bilt Pony Riding Lawn Tractor
Installing your deck belt correctly and keeping it in good condition are both important in maintaining the safe and efficient operation of your lawn tractor. Belts are subject to intense wear and damage and should be replaced at the first sign of these problems.
Before servicing any power equipment, follow the safety instructions laid out in your owner’s manual. Make sure the equipment is completely stopped, cooled down, and that no parts are moving before attempting to service your equipment.
- Step 1: Remove the deck.
- Step 2: Take the hex washer screws out of the belt covers.
- Step 3: Remove the belt covers.
- Step 4: Take a picture of the way the belt is routed to use for future reference.
- Step 5: Loosen the hex nut on the left idler pulley to be able to get the belt off the pulley and around the belt guard.
- Step 6: Take the deck belt off of the two spindle pulleys and the two deck idler pulleys
- Step 7: Route the new belt while using the picture you took as a reference. Place it around the two outer spindle pulleys.
- Step 8: Route the belt around the two deck idler pulleys.
- Step 9: Tighten the belt keeper rod that you loosened earlier in the process.
- Step 10: Remount the belt guards removed earlier.
- Step 11: Reinstall the deck. Make sure the belt remains routed as you do so.
- Step 12: Pull on the right side of the belt and place the V side onto the PTO pulley.
- Step 13: Hold the belt and pulley together while rotating the pulley to the left. Continue to hold and rotate the pulley until the belt is completely rolled into the PTO pulley.
For information about safety, warranty, and your specific model, read and be familiar with your owner’s manual.
Related Products and Links
Related Posts

How to Check and Replace the Spark Plug on Your Troy-Bilt 4-Cycle String Trimmer →
How to Clean and Replace the Air Filter on Your Troy-Bilt 4-Cycle String Trimmer →
How to Check and Change the Oil of Your Troy-Bilt 4-Cycle String Trimmer →
How to Replace the Trimming Line of Your Troy-Bilt 4-Cycle String Trimmer →

One Response to How to Change the Deck Belt on Your Troy-Bilt Pony Riding Lawn Tractor